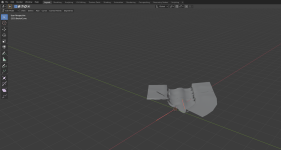
I wouldn't worry too much about that. Your road is probably slightly smaller than mine, and the modifiers will output a new piece once the underlying bezier curve is long enough to account for two of them.
One thing that'll help you out considerably is to make your vertex points a little bigger. By default, Blender sets them to 3px, and I find they're easier to work with when they're double that size, 6px. To change that, go to edit in the menu at the top left of the screen, choose preferences, go to the Themes tab, expand the 3D Viewport box, and scroll down a good ways until you see Vertex Size. Change that to 6px.
By default, the Tab key is a toggle between Object and Edit mode. I prefer the Pie Menu setup, where Tab gives me all the options for all the various modes. If you want to change your setup to be more like mine, go to edit/preferences again, scroll down to Keymap, and turn on Tab For Pie Menu, and Extra Shading Pie Menu Items. Also, while you're there, I'd recommend changing the Spacebar Action to Search. That is really handy to have around.
I watched through that part of the video again, and realized that the screencast key viewer isn't showing my keystrokes for that action. What I'm doing there is hitting A to select all my nodes and handles, Y to constrain the scale to the Y axis, then Numpad 0 to even them all out along along the same axis, straightening them up.
Your camera can be positioned freely anywhere, at any time. Worry more about building your scene as a whole.
There's a few things I did there to make things easier on me. First off, I went to an overhead viewport, which will, by default, constrain all rotations and movements to the same plane.
I also switched to Wireframe Viewport by hitting the Z key, and choosing Wireframe. You can also activate by looking at the 4 little sphere icons at the top right of the screen, and clicking the leftmost one. In order, they're Wireframe, Solid, Material Preview, and Render.
To grow it, I'd both move one of the bezier points to get it to a certain length with G, and extrude a new point out by hitting E when I have one node already selected. I also added an extra point between two existing nodes by selecting two of them, rightclicking, and selecting Subdivide, which will add an extra point between the two highlighted nodes.
At this point, since you're starting to play more with Blender, I'd really recommend watching an intro to modelling video to help you out. You're jumping into the deep end before you've even learned how to kick your feet here.


